10 posts tagged with "Kubernetes"
View All Tags
We switched from Java to Go and don't regret it


Getting Started with Cloud-native AI using Kubeflow
Should you run PostgreSQL on Kubernetes?

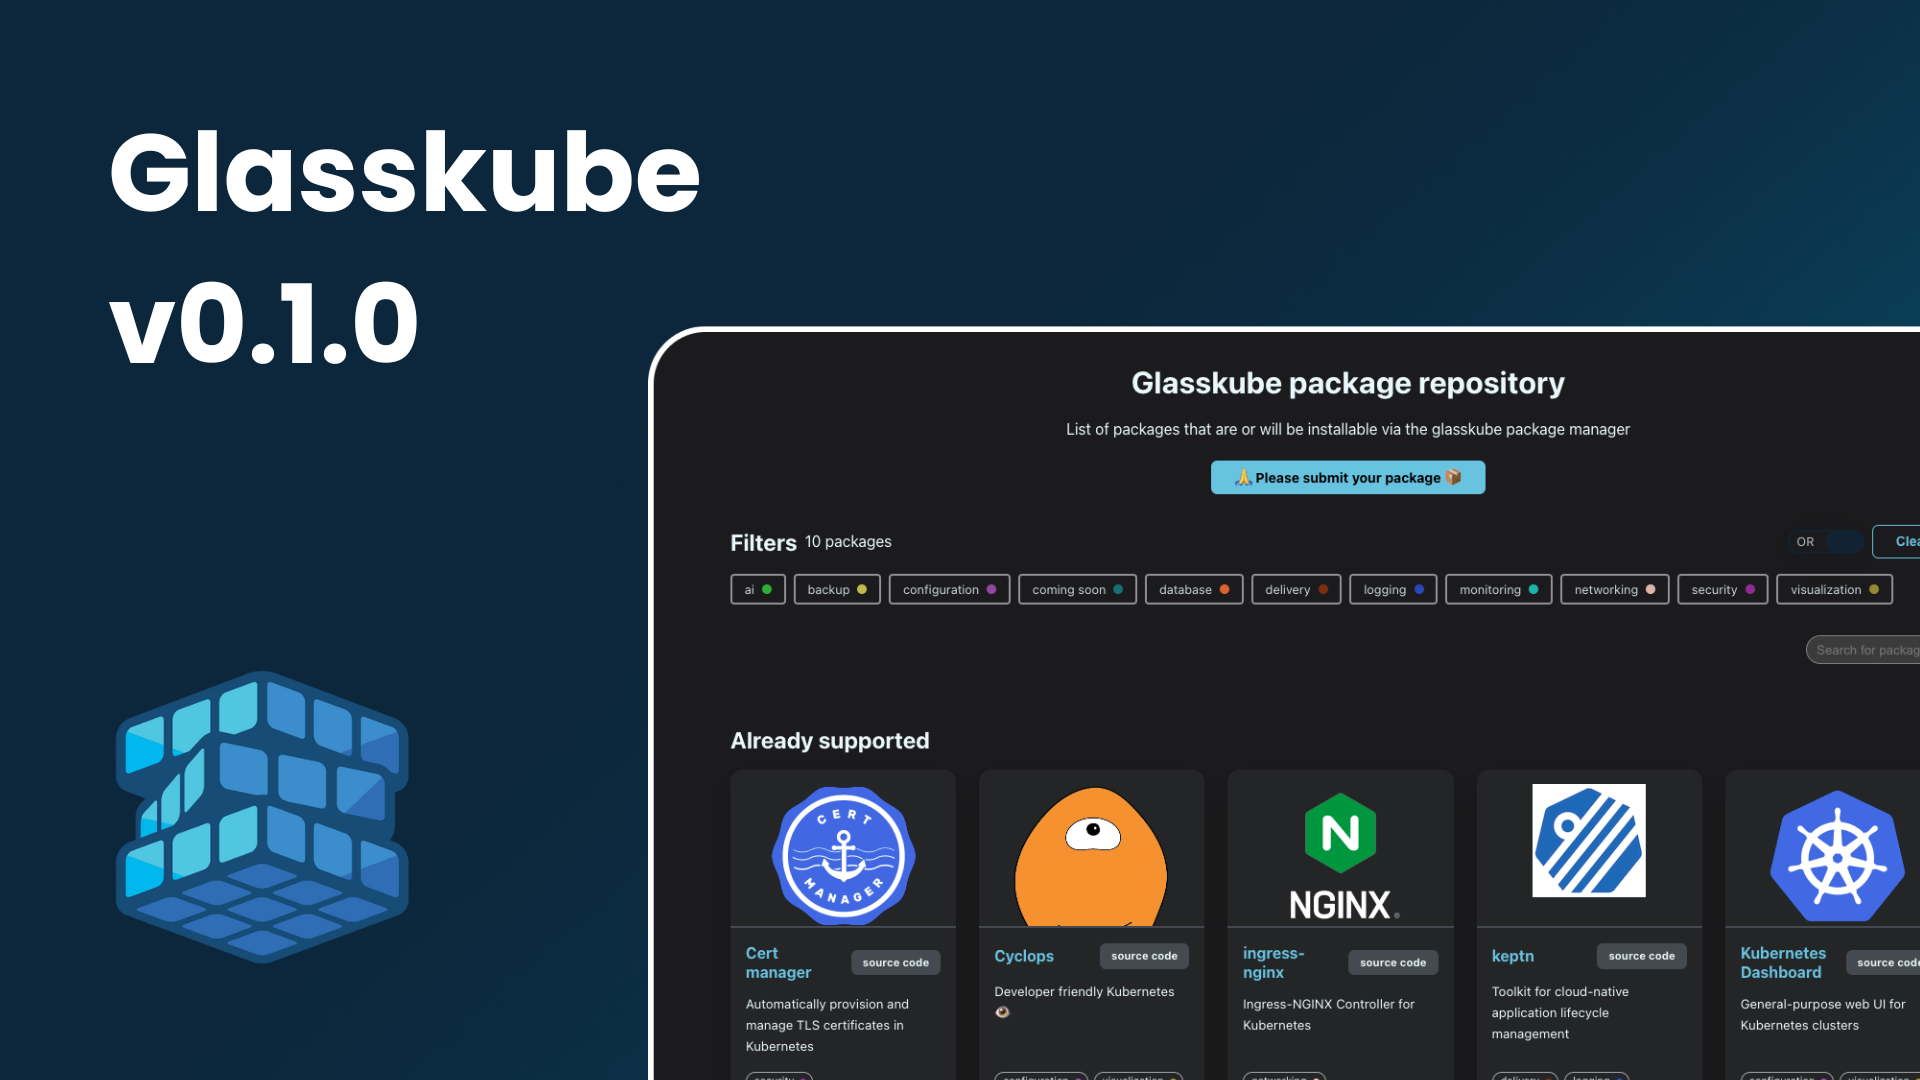
Glasskube v0.1.0 — Introducing Dependency Management
Glasskube v0.0.3 — Introducing Package Updates

The Inner Workings of Kubernetes Management Frontends — A Software Engineer’s Perspective
Glasskube v0.0.2 — Open Command

Glasskube v0.0.1 — Technical Preview